
Dynamixel AX-12A Robot Actuator
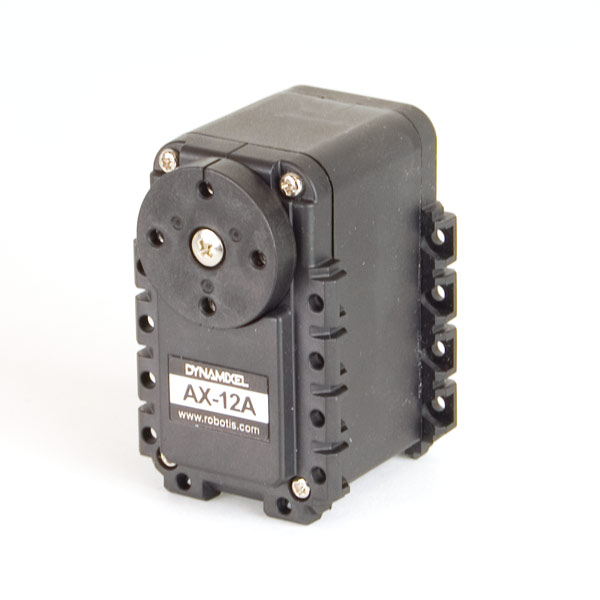
The Servos used in the EmuBot are called AX-12A Robot Actuators and cost about $45-50 each. Although they are pricey they are very good for multiple robot designs and are perfect for the EmuBot
Tech Specs:
- Voltage: 12V
- Weight: 55g
- Size: 32 x 50 x 40 mm
Download the manual for full specification
Controlling the Dynamixel ServosThis is a short explanation of the basics of the AX-12 servos, and will explain how to control an AX-12 servo using either a Raspberry Pi, or an OpenCM board.
Dynamixel servos use a serial bus and a very simple packet structure which starts with the same two bytes with a value of 255 (or 0xff if you prefer hexadecimal) and ends with a checksum. This allows the smart servo to know when a message starts and end and ensures the correct inputs are received.
Interaction with the OpenCM
The OpenCM board is a similar architecture to Arduino and, as such, uses a similar code. Robotis has an IDE Software which contains a library for easy controlling of the Dynamixel Servos. You can download the Robotis IDE from here.
Once downloaded and installed you will be able to find examples scripts under “File > Examples > Dynamixels”. Their libraries will handle the serial communication between the Servos as mentioned above. In the OpenCM page we have provided a sketch onto your OpenCM to allow communication between the Raspberry Pi and the servos, but you can control the servos directing through the Open CM.
Interaction with the Raspberry Pi
The Raspberry Pi is not able to control the Dynamixel’s easily, which is why we have the OpenCM board to handle the power and tossing of packets between the two serial connections. The code provided on the OpenCM receives serial messages from the Raspberry Pi and passes through the message to the Dynamixels.
Setting Dynamixel ID’s
Each of the Dynamixels must have a unique ID so that you can communicate to each of them individually. You will need to load the following sketch onto an OpenCM board and manipulate it in order to set the Dynamixel ID’s. In the OARK we generally set our wheels from numbers 1-4 and the shoulder, tilt and camera pan to 5, 6 and 7 respectively.
This needs to be done slowly and methodically so you know which ID will move which servo. You’ll notice when looking at the sketch below that we broadcast to ID 254. This is used as a default value to broadcast to all Dynamixels.
#define DXL_BUS_SERIAL1 1

#define NEW_ID 7

Dynamixel Dxl(DXL_BUS_SERIAL1);

void setup() {

Dxl.begin(3);

Dxl.setID(254, NEW_ID);

Dxl.jointMode(NEW_ID);

}

void loop() {

Dxl.goalPosition(NEW_ID, 0);

delay(1000);

Dxl.goalPosition(NEW_ID, 300);

delay(1000);

}
Here is a link to the related GitHub Repository.